www.oniriibike.com
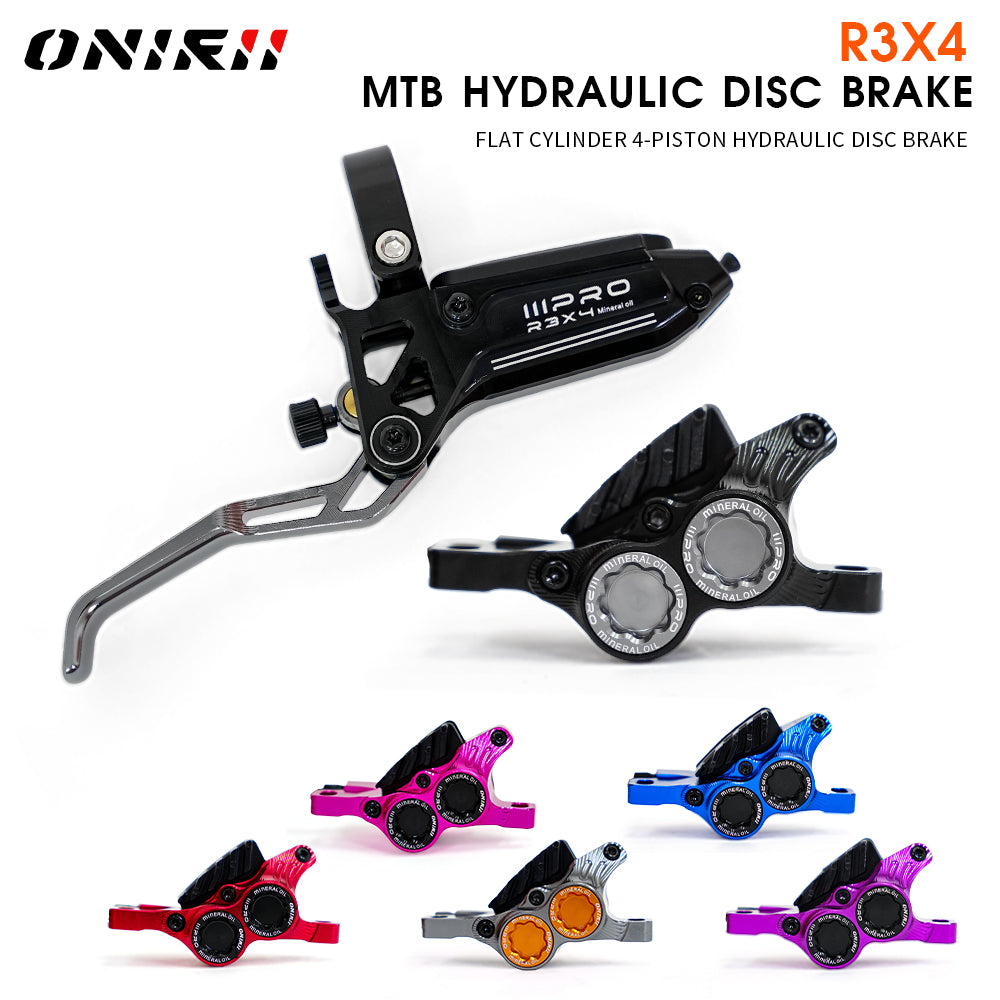
2025 ONIRII IIIPRO R3X4 Horizontal Cylinder 4-Piston Hydraulic Disc Brake Quick Release MTB Caliper for MTB, Climbing, AM,XC NEW
2025 ONIRII IIIPRO R3X4 Horizontal Cylinder 4-Piston Hydraulic Disc Brake Quick Release MTB Caliper for MTB, Climbing, AM,XC NEW
Couldn't load pickup availability
Brand: ONIRII , IIIPRO
Model: R3X4
Weight: Caliper:110g, Brake lever: 108g
Oil hose length: 90 cm at the front, 173 cm at the rear
Material: Aluminum alloy
Craft: CNC
Oil: Mineral oil
Piston: 4-piston
Colors: Black, Red, Grey, Purple, Blue, Pink
For bikes: Downhill bike, Electric bike, AM, XC, Street Bike, Climbing

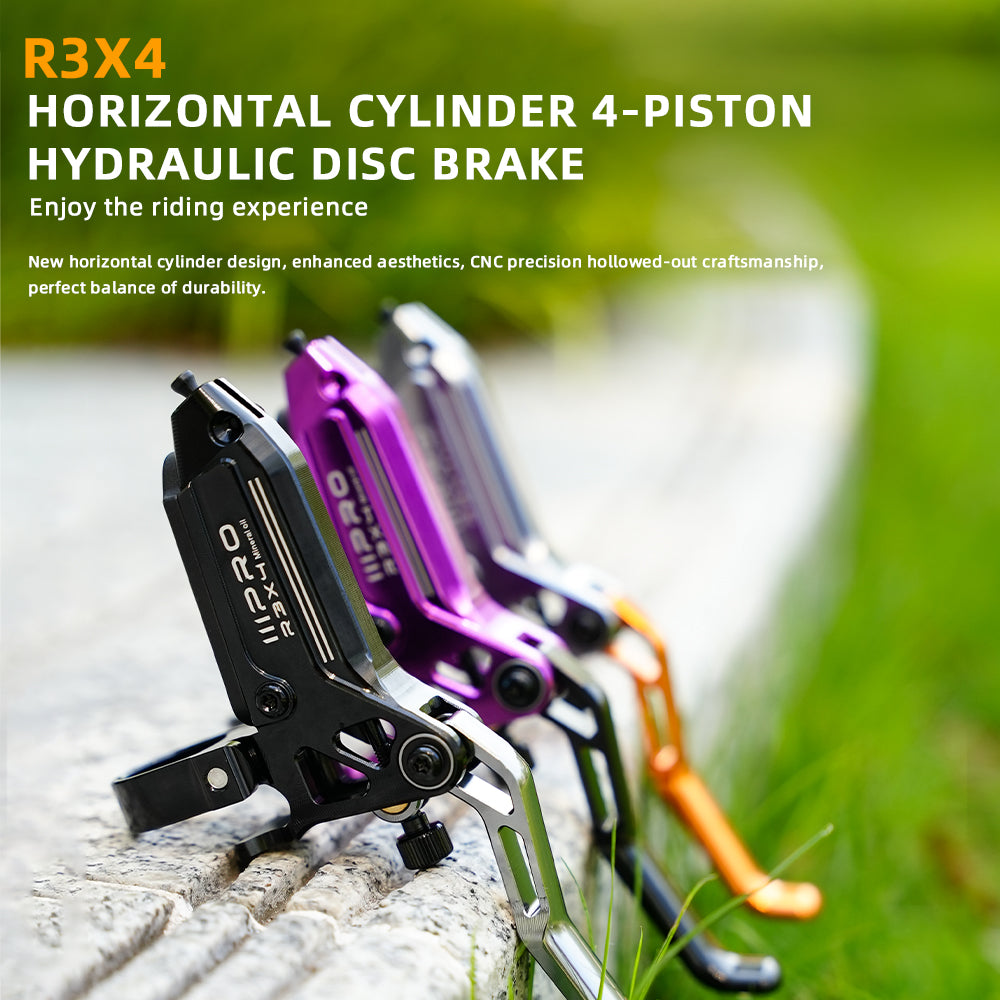
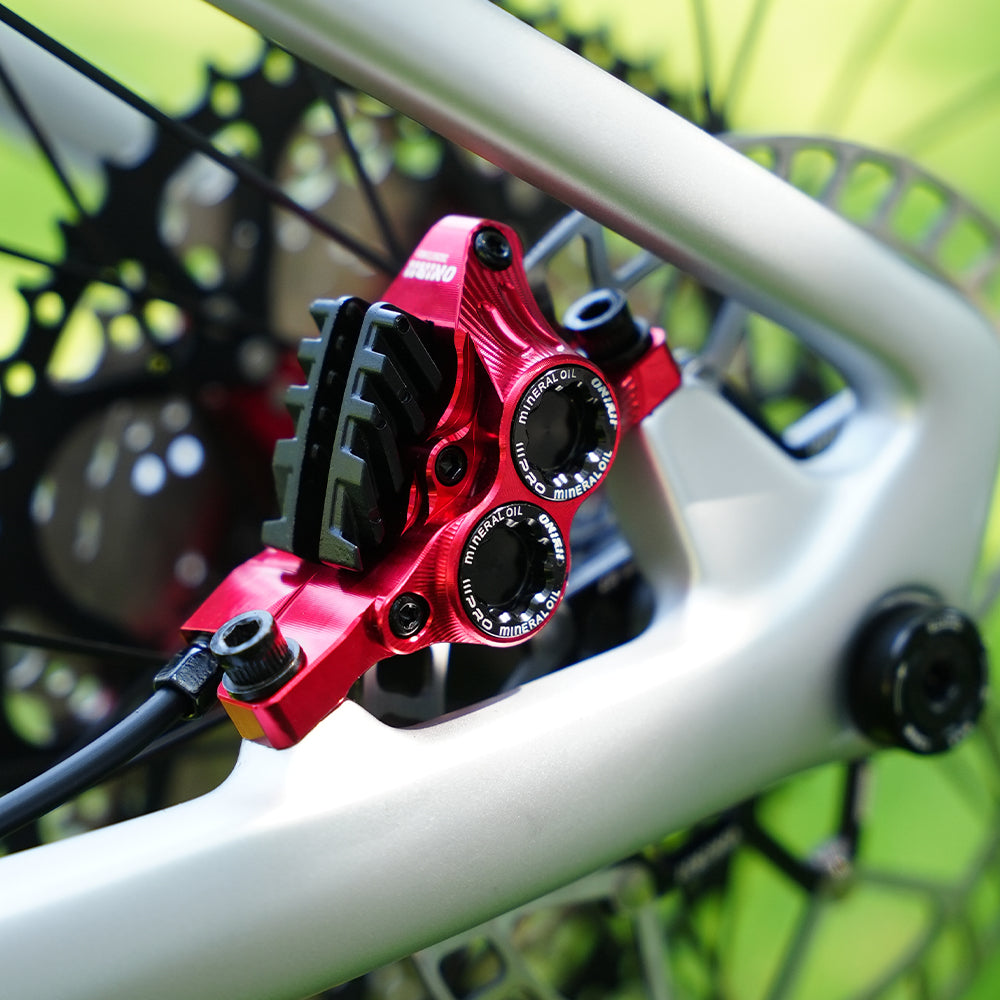
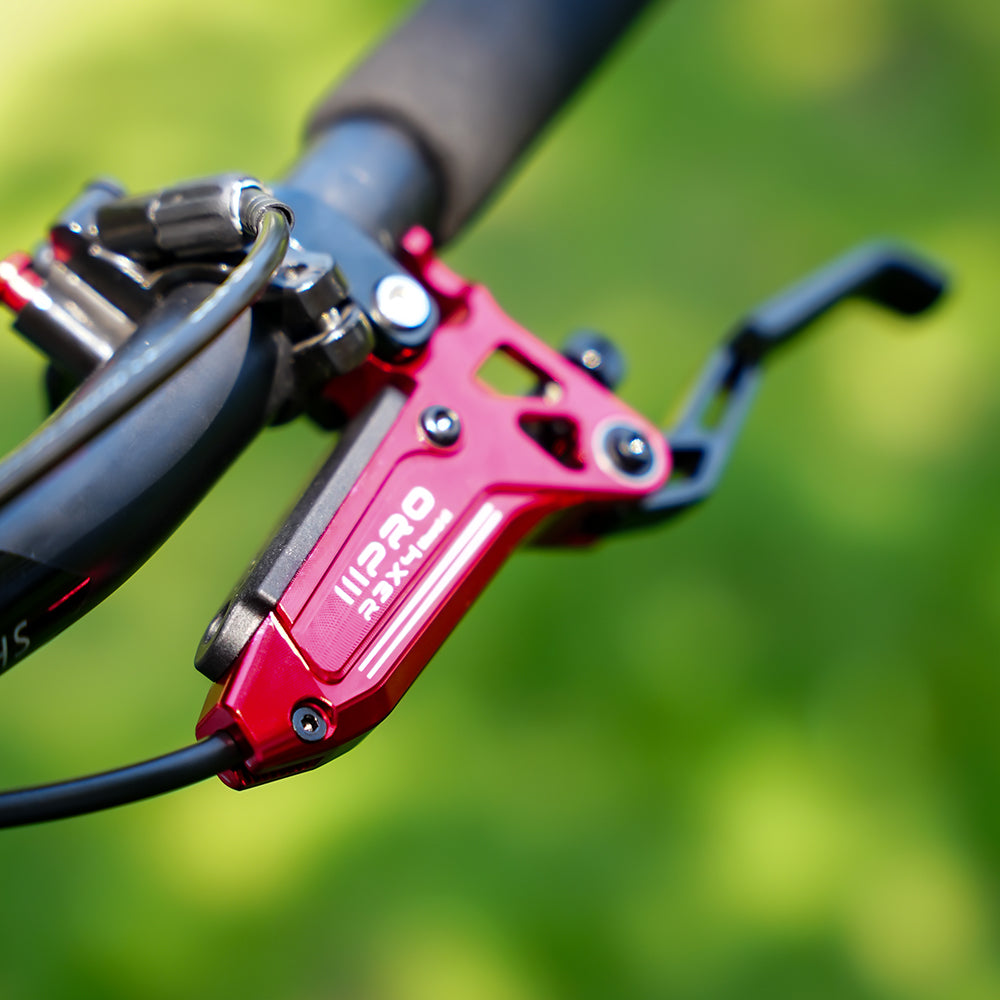
R3X4 Horizontal Cylinder 4-Piston Hydraulic Disc Brake
Enjoy the riding experience
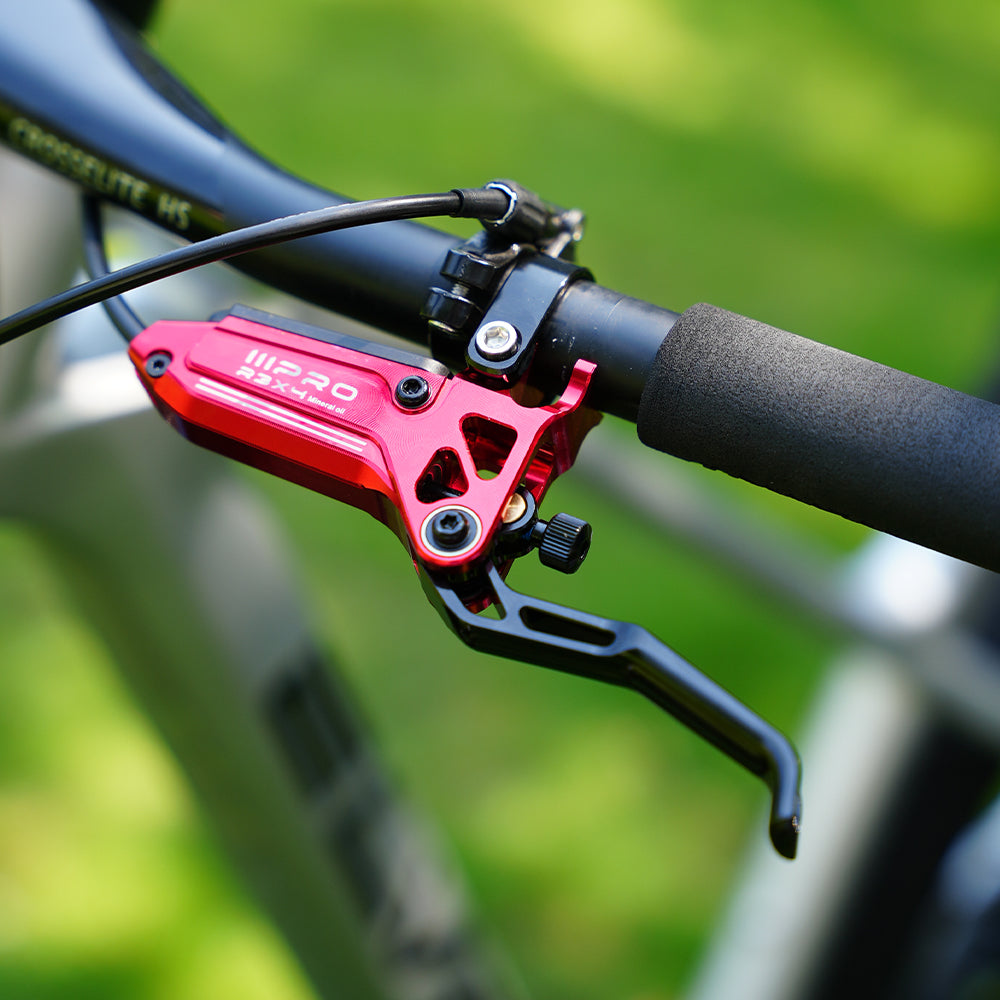
New horizontal cylinder design, enhanced aesthetics, CNC precision hollowed-out craftsmanship, perfect balance of durability.

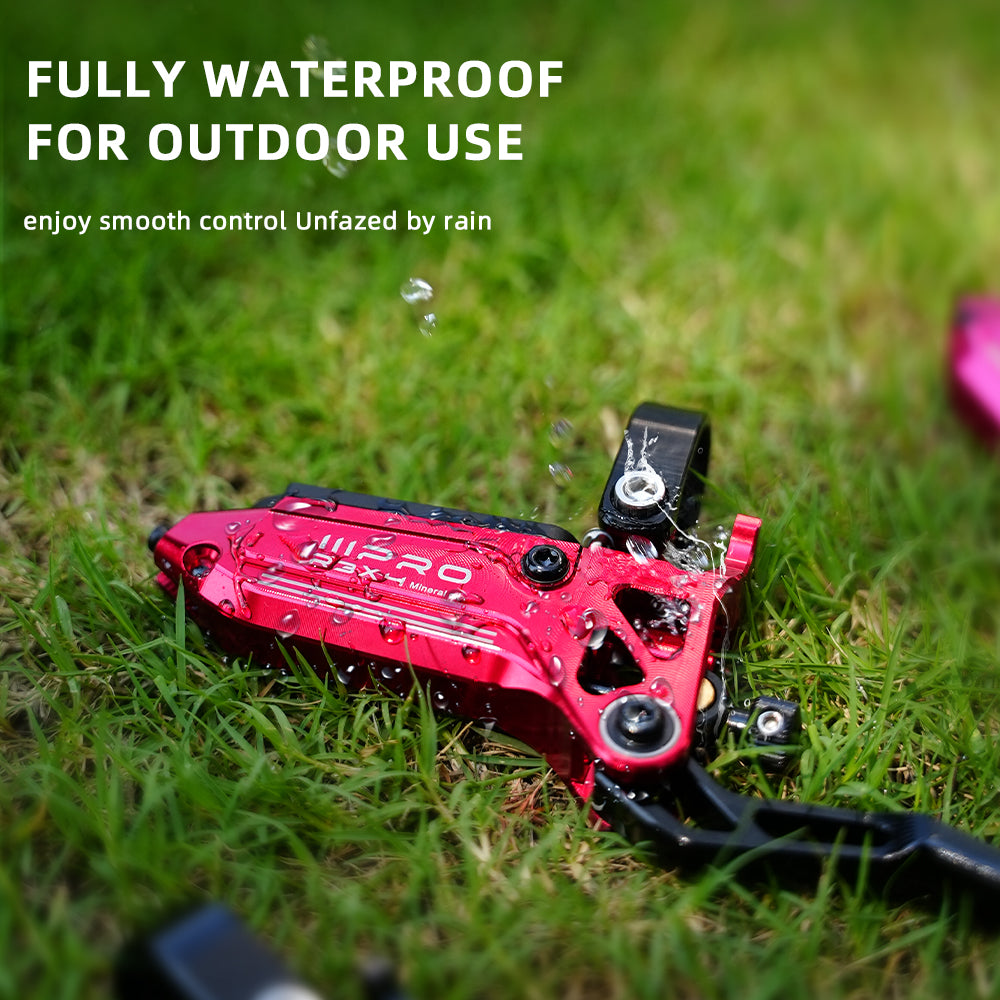
Fully waterproof for outdoor use, enjoy smooth control Unfazed by rain , reliable control

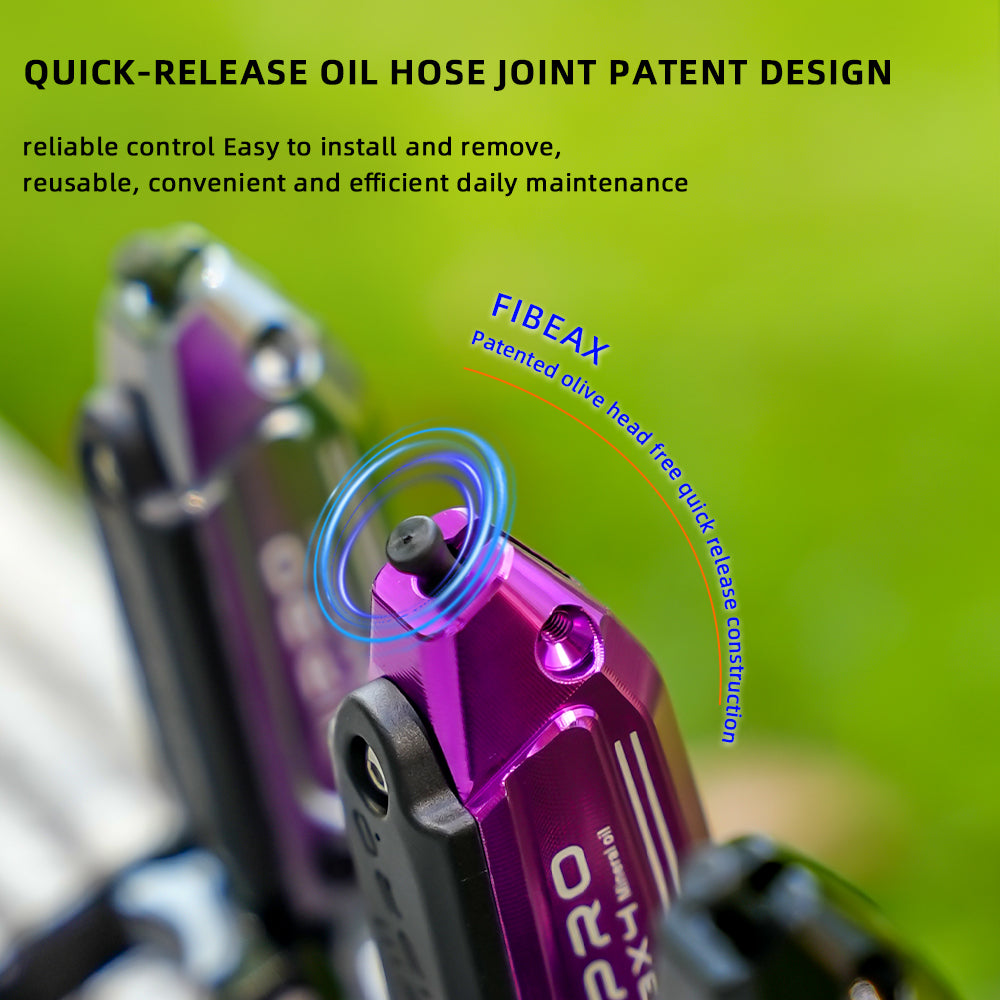
Easy to install and remove, reusable, convenient and efficient daily maintenance
FIBEAX patented quick release structure without olive head

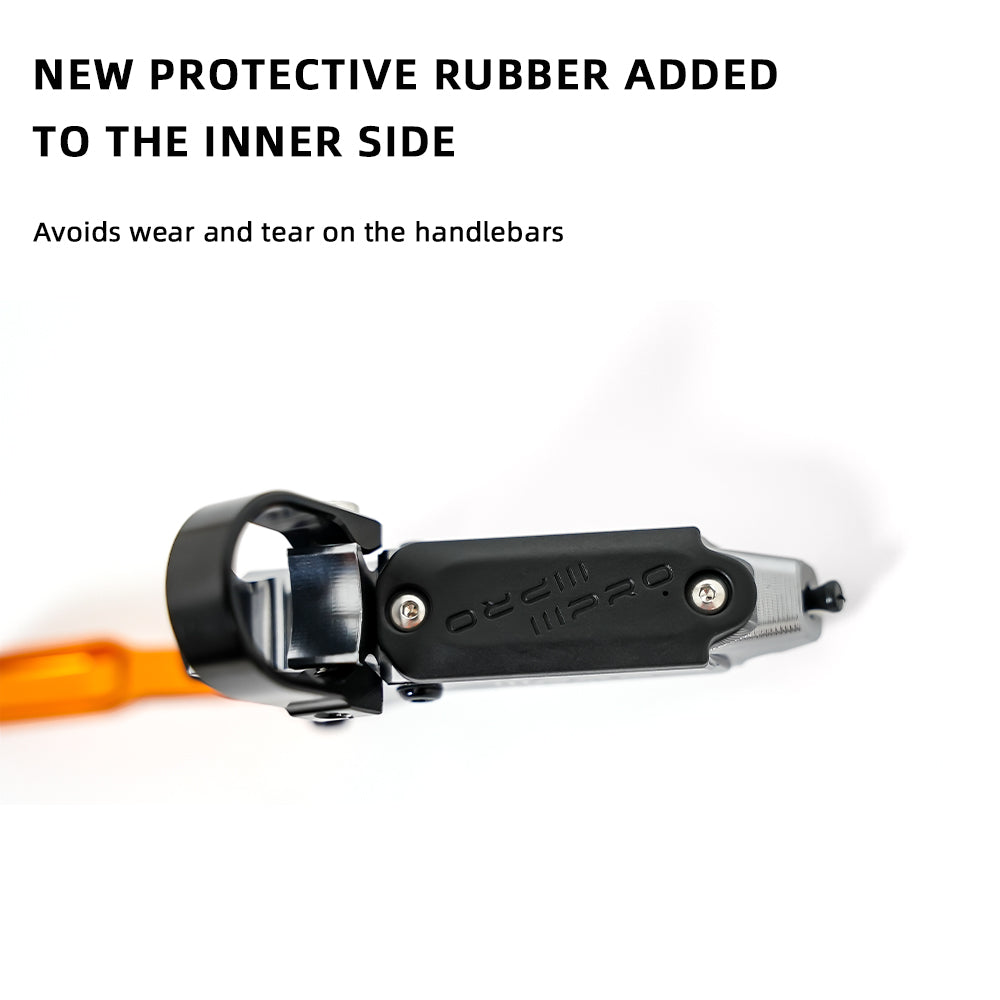
New protective rubber on the inside
Prevents wear and tear on the handlebars

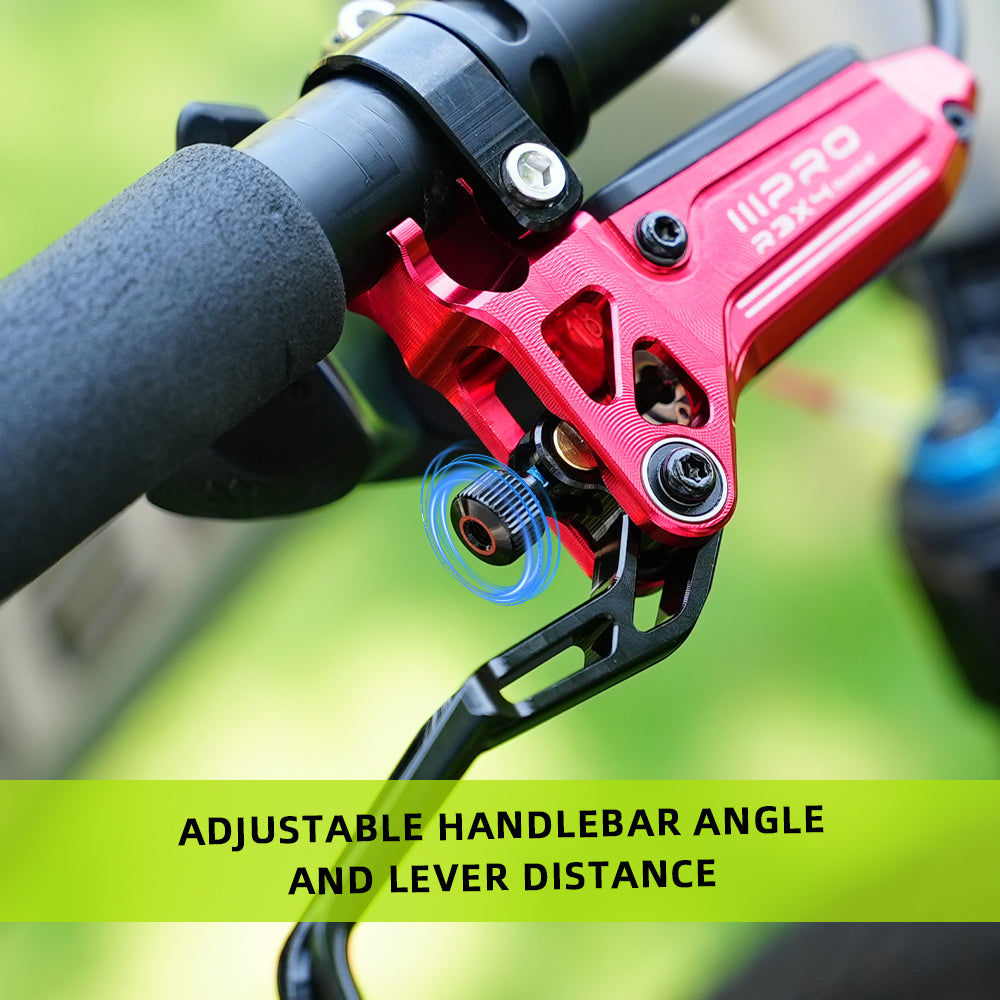
Adjustable handlebar angle and lever distance

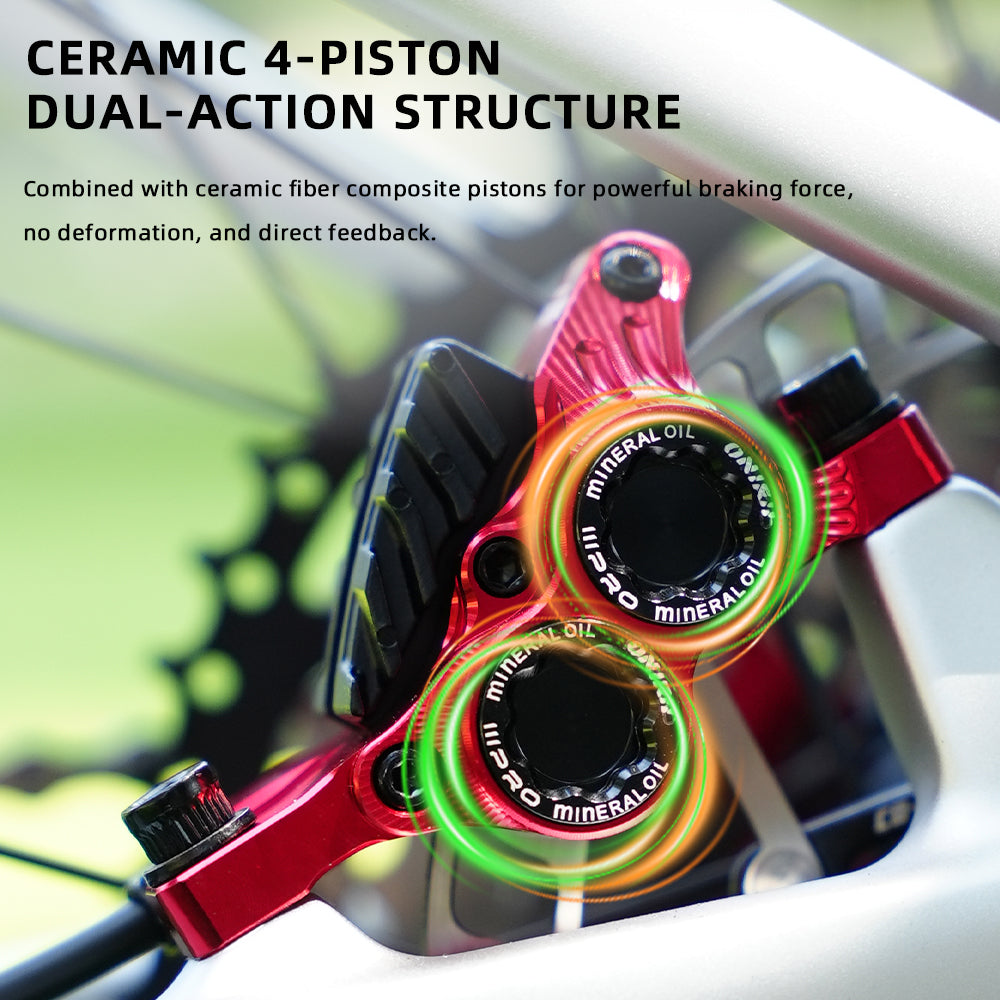
Ceramic 4-piston dual-action structure
Combined with ceramic fiber composite pistons for powerful braking force, no deformation, and direct feedback.

①Hidden oil hose for a clean and elegant look
The hidden oil hose design, giving the entire vehicle a clean and sleek appearance, eliminating clutter and exuding a professional feel.
② Dual brake pad configuration, suitable for all scenarios
Original ceramic brake pads meet the needs of medium to low intensity riding; spare sintered brake pads are designed for extreme challenges. One set of disc brakes is suitable for different riding scenarios.
③Patented quick-release design for convenient maintenance
The patented quick-release oil hose connector design makes installation and removal a breeze, is reusable, and ensures hassle-free and efficient daily maintenance.
④Thoughtful reminders for long-lasting durability:
Initial usage period and maintenance
Before each ride, check if the brakes are functioning normally. When frequently pulling the brake lever, ensure that braking force is generated.
To achieve optimal braking performance, new brake pads require a break-in period. Ride a short distance while alternately applying the brakes, without attempting to stop.
Continuing this process will achieve optimal braking performance. Ensure precise and stable braking with every use, accompanying you on long rides.

FIBEAX patented quick release structure without olive head

Oil needle installation diagram:
① Cut the oil pipe.
② Push the sealing oil needle into contact with the end face of the oil pipe
③ . Insert the oil needle and push it to the bottom.
Is the observation hole on the brake lever slot ,correct Install oil pipes into the copper slot
④. Fix the oil pipe screw 1-2N. m

Oil injection operation diagram:
01:Use a 3mm hex wrench to remove the brake pad mounting screws.
02:Remove the brake pads and brake pad spring card
03:After disassembly, insert the piston pad again fix the block well with screws
04:Use M4 adapter to connect the syringe (prepare mineral oil and exhaust the air from the syringe)
Use aT15 ring wrench to open the oilfilling screw, unscrew the oil filling screw, and connect the M4 handle to the injection port
05: Use a T15 ring wrench to open the oil injection port screw, connect the brake lever with an M4 oil pot with an O-ring, and start pushing the syringe inside Put mineral oil into the oil pot and observe that there is no oil overflow at the interface. Otherwise, there may be no sealant or mismatch at the tooth pattern, and the copper joint for oil injection should be replaced immediately.
After injecting four fifths of the mineral oil into the funnel through the syringe, repeatedly press the brake lever (with a freguency of about once a second) to allow the mineral oil to flow back well, and the oil will continue to move downwards during the squeezing process. When the oil in the oil pot flows back to four fifths of the syringe, the oil in the syringe is re injected into four fifths of the oil pot, This action is repeated three times, Lock the locking clip and gently pinch the brake with 0.5 Nm of force to check for pressure, lf there is, it is successful. lf gently pinch to the bottom, repeat the above oilingaction.
(Note: Do not apply excessive force to the brake lever, otherwise there is a risk of the joint bursting)
06: Remove the syringe.
07: Install the oiling screw.
08: Clean the brake surface oil stains with alcohol.
09:Install the brake pads and tighten the screws
(Torque 4N.m. Select the corresponding rotor size conversion seat, install the caliper on the frame, and adjust until the disc brake pads are centered and the distance between the brake pads is equal, i.e., A = B.)
10: Use a hex wrench to tighten the brake caliper. While tightening the brake lever, alternately tighten the brake caliper mounting screws
(due to the variety of frame types, select appropriate screws for mounting). Adjust the knob, screw, or 3mm hex wrench. Turn the adjustment screw clockwise to increase extension or counterclockwise to reduce extension. (to better adapt the brake lever to your hand feel).

Multiple colors to match your bike

Precision craftsmanship, quality assurance
Multiple precision production lines and professional laboratories, from 100 CNC machining shop to precision testing equipment, controlling at all levels to ensure reliable quality.
Quality Management System Certificate


Pre-purchase Notes:
1.R3X4 4 piston brake , non-man-made damage, warranty 3 years.
Warranty scope: brake housing, seals, hoses, screws and other accessories.
Brake pads, rotors belong to the wear parts, not in the warranty model.
2. The product damage caused by human reasons, not in the warranty
(such as: private modification, private disassembly of the product, not in accordance with the provisions of the installation and use of the brake and other reasons).
Instructions for use:
1, Daily use should be regularly checked brake pads wear.
2, Brakes after a certain period of time will appear lack of oil or internal air into the situation, need to regularly check and refill the brake fluid.
3, Caliper piston in the installation process in advance of the lubricant, such as you find a small amount of lubricant overflow is normal!
Share
